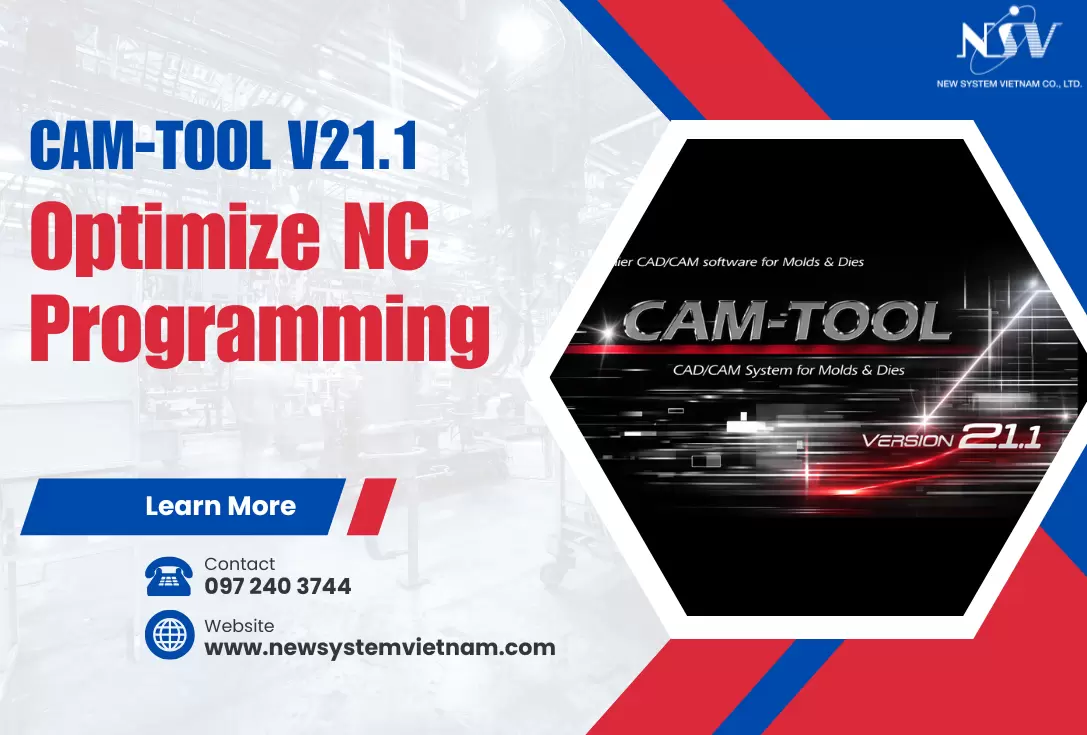
Update of CAM-TOOL V21.1 just launched in April 2025
In April 2025, Japan-based CGS officially introduced the latest version of its CAM-TOOL machining software – V21.1, bringing significant enhancements that improve machining programming efficiency and optimize surface quality. This release further reinforces CAM-TOOL’s position as a specialized solution for high-precision mold manufacturing applications.
In April 2025, CGS Japan officially introduced the latest version of its CAM-TOOL machining software – V21.1, featuring powerful enhancements that boost programming efficiency and optimize surface quality. This release further reinforces CAM-TOOL’s position as a specialized solution for high-precision mold and die manufacturing.
Enhanced Functions
5-Axis Machining
Expanded Cutting Modes: CAM Model-in-Stock Calculation
Roughing performance in 5-axis machining has been improved through newly added optimization functions such as delete air cut and auto clearance, now supported for shape fillet, high precision mode, and conventional cutting, along with workpiece-shape-based toolpath adjustment.
Simulation operability is also enhanced with a direction-based pause function.
The CAM model-in-stock calculation now supports more roughing strategies.
The system automatically detects remaining material by comparing the part geometry with the previous stock shape, generating highly efficient toolpaths.
The ability to define irregular initial stock reduces machining time by minimizing air cuts and optimizing tool movement.
Optimization: Automatic Z-Axis Error Correction
New automatic detection and correction of Z-axis approach errors—both in toolpath calculation and linking motions—significantly reduces trial-and-error time and minimizes end-of-program warning issues.
Optimization: Additional Toolpaths
The optimization simulator now detects tool–contact points that exceed the specified step and automatically adds necessary toolpaths.
This prevents unexpected tool overload and allows improved collision checking.
AI-Driven Cutting Condition Calculation
This function calculates recommended cutting conditions based on tool overhang length.
AI automatically determines machining parameters suitable for L/D ratios of 5 or higher.
This feature is available only for MOLDINO ball-nose tools.
Area Scanning Toolpath: Extended Travel Direction
The system now automatically calculates and generates long-direction scanning toolpaths for each machining region, improving overall machining efficiency.
Area Scanning Toolpath: Contour-Based Toolpath
Contour toolpaths created along the bottom surfaces of concave regions help reduce leftover material at corners, improving dimensional accuracy, surface quality, and machining efficiency.
Function Tree: Copying Surfaces & Machining Ranges
A new copy–paste feature is now available for Surface to machine and Cutting range, allowing users to transfer these settings across multiple profiles.
This significantly reduces CAM setup time and minimizes manual input errors.
Multi-profile pasting and drag-and-drop operations are also supported.
Copy–paste is now integrated into the right-click menu for both Surface to machine and Range items, and cross-profile pasting is available for different cutting modes and machining processes.
New Command: Support Surface Creation
Roughing for Circular Holes – “Support Surface Diameter”
The system can automatically generate support surface geometry for 3D drilling based on hole information.
Users can parameterize the support surface by specifying hole diameter, taper angle, and axial length.
Layer assignment and real-time previews are also supported, simplifying the support-surface creation process.
This automation eliminates manual CAD modeling, significantly reducing programming time.
Automatic support surface creation uses hole entities and surrounding surface geometry to generate accurate supporting surfaces.
The system now incorporates the support surface diameter parameter to minimize leftover scallops from previous machining steps and ensure accurate support surface creation during the drilling sequence.
Additionally, the new final Z-pitch parameter enables finishing the support surface in a single pass for improved dimensional accuracy.
Offset values relative to hole entities can also be specified, and holes of different diameters can be machined in the same operation.
The last step-down parameter ensures flatness of the support surface.


